| |
|
Install Git on Windows
How to Install Git on Windows
Before using Git we must have to install Git on our computer. And it is always a good idea to upgrade the latest version even if we already have Git installed on your system. We can indtall this as package or via another installer or we can download it from its site(official site).
Now the next question is arise how can we download the Git installer package. I have tried to cover all the steps with the image help given below:-
How to download Git?
Step Number 1
To download the Git installer, you need to visit https://git-scm.com/downloads. Which is an official website. And below is the page when you open above url.
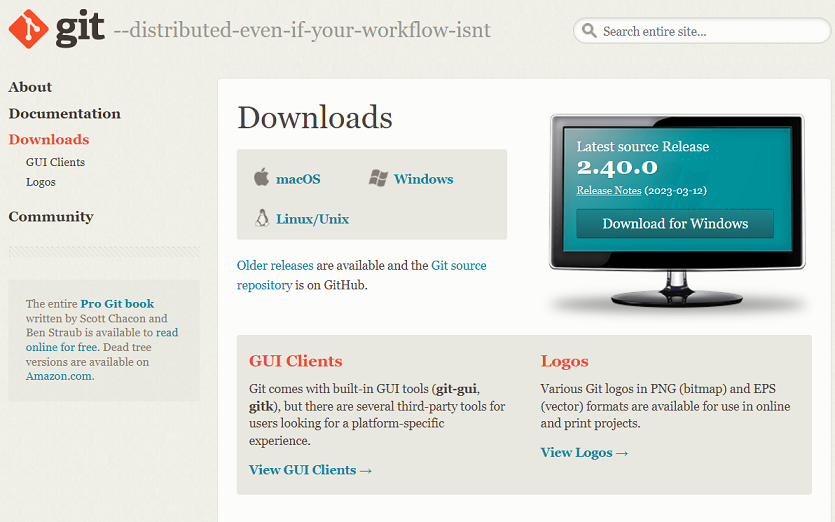
Once we click on package given on the page download 2.40.0 for windows. Here download will start after selecting the package.
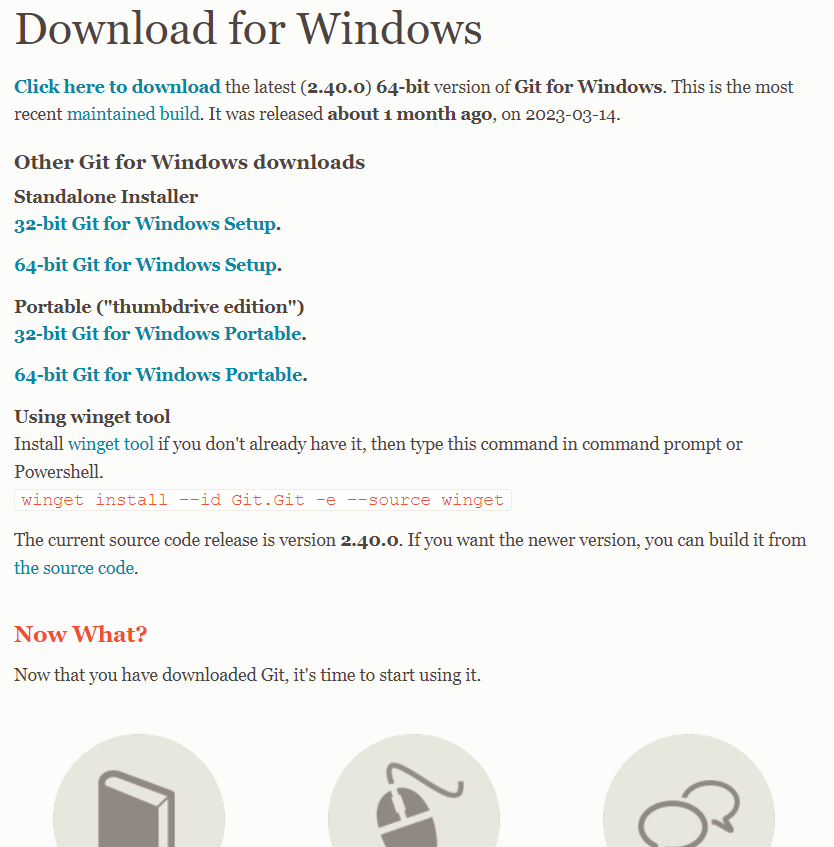
Now, the Git installer package has been downloaded.
Install Git
Step Number 2
Once download complete we click on downloaded installer file we select yes to continue. Once we select the yes installation begins as per the below screen.
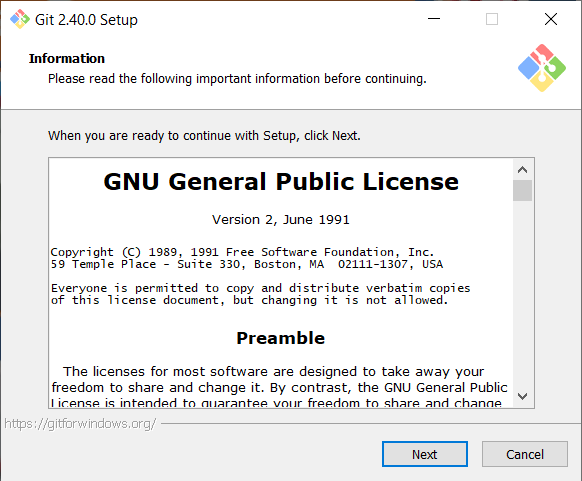
Now click on next to continue
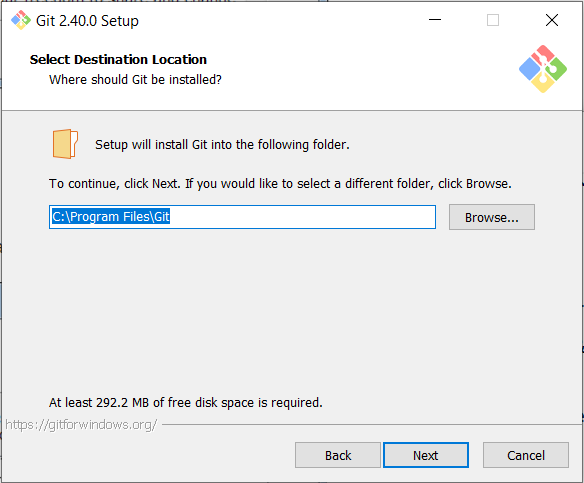
Step Number 3
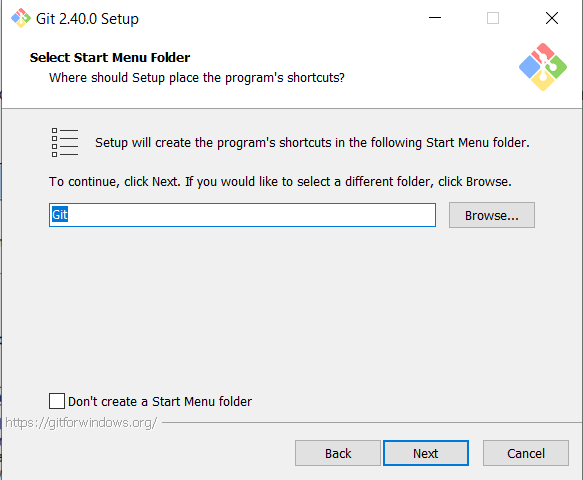
Now click on next to continue
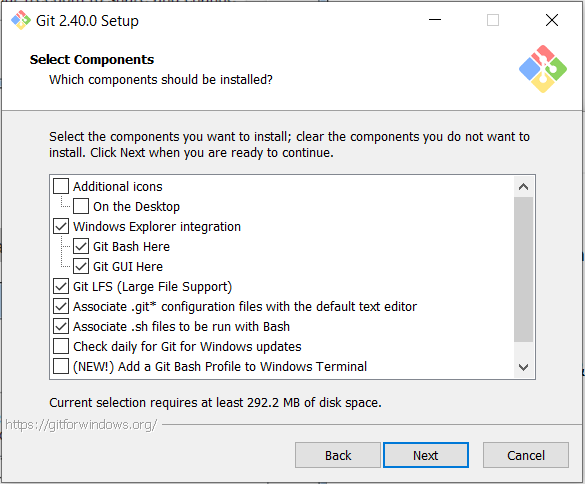
Step Number 4
Here default components are automatically selected in this step and we can also choose your required part if we need some different things.
Now click on next to continue
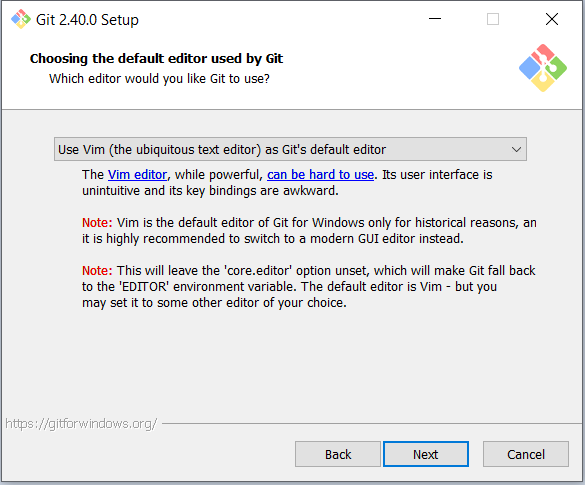
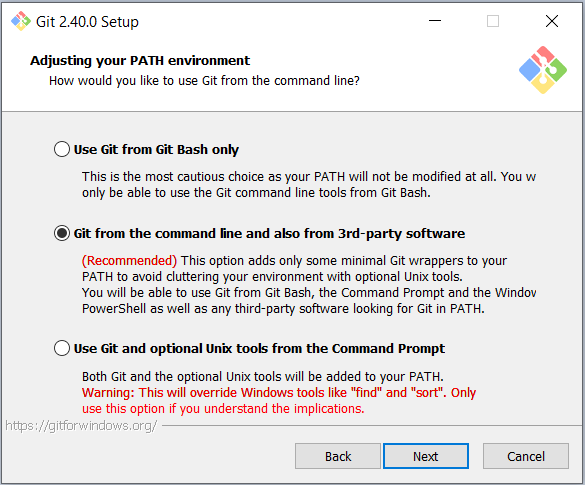
Step Number 5
Here the default Git command-line options are selected automatically. Now you can choose your preferred choice. Click next to continue.
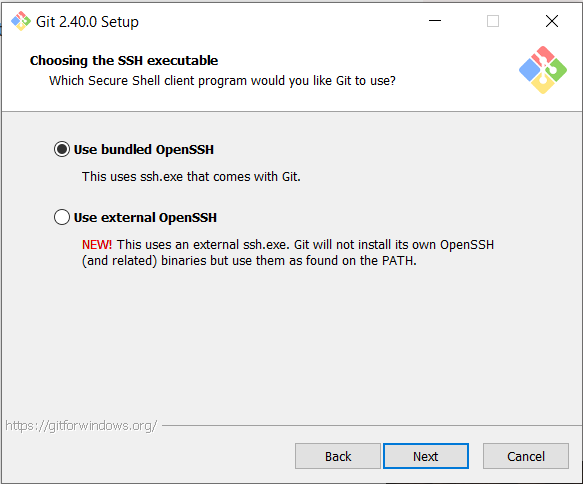
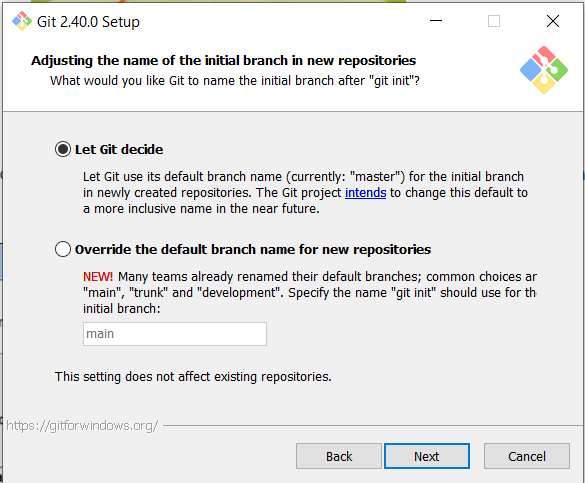
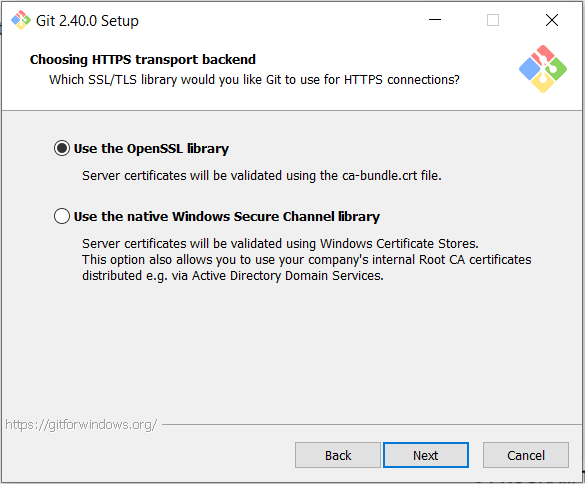
Step Number 6
Here the default transport backend options are selected in this step. Click next to continue.
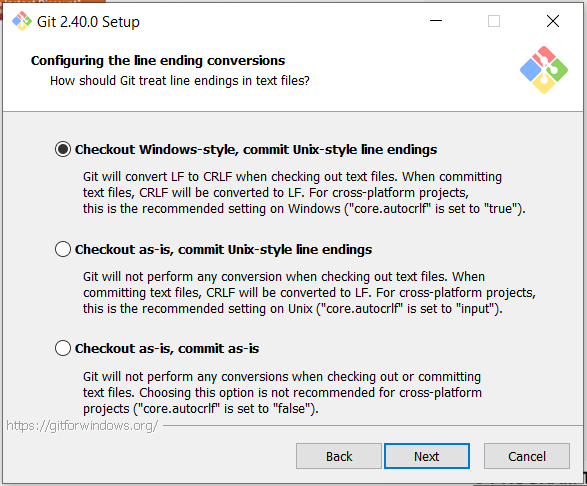
Step Number 7
Select your required line ending option and click next to continue.
Step Number 8
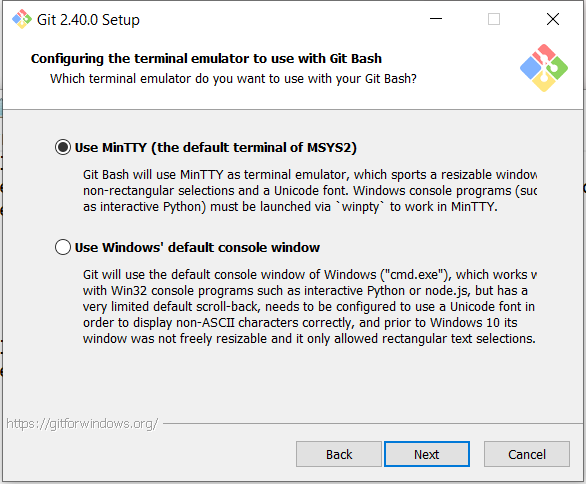
Now we select preferred terminal emulator clicks on the next to continue.
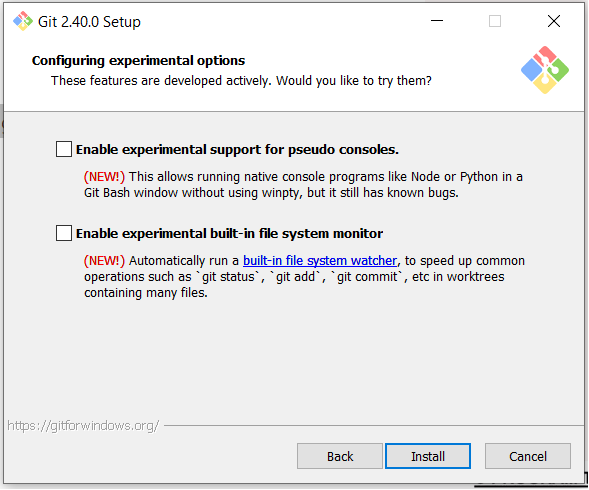
Step Number 9
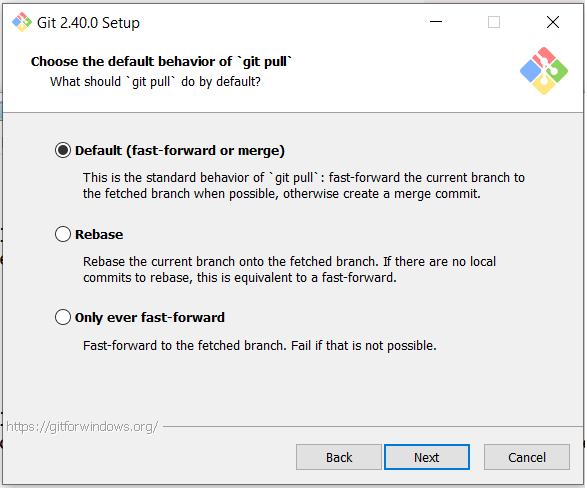
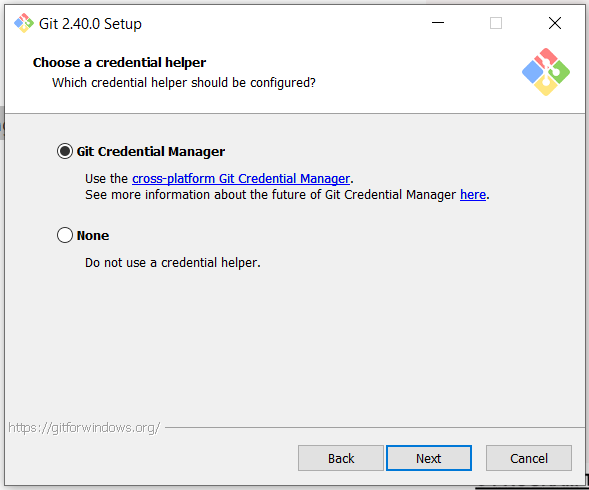
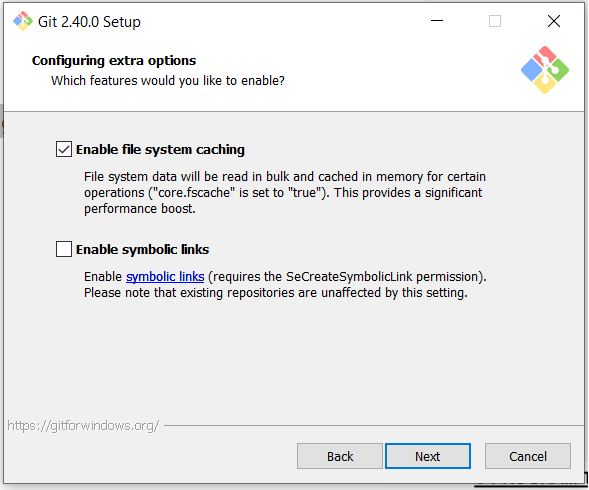
Here is the last step that provides some extra features like system caching, credential management and symbolic link. Now select the required features and click on the next option.
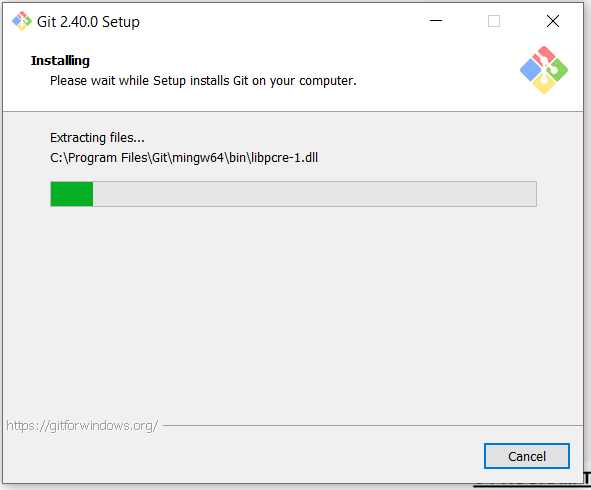
Step Number 10
The files are being extracted in this step.
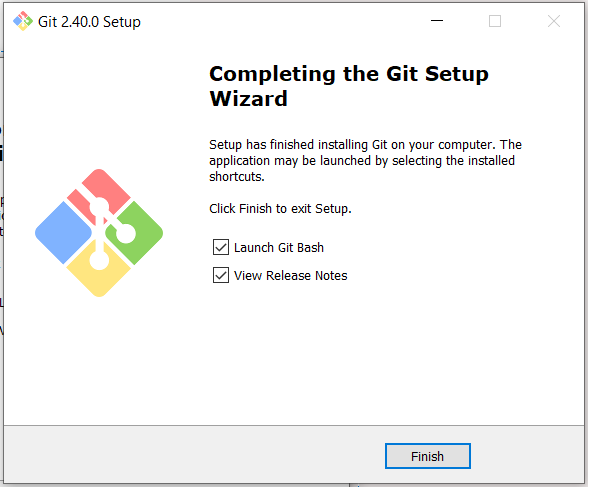
Therefore, The Git installation is completed. Now you can access the Git Gui and Git Bash.
The Git Gui looks like as
It facilitates with three features.
Create New Repository
Clone Existing Repository
Open Existing Repository
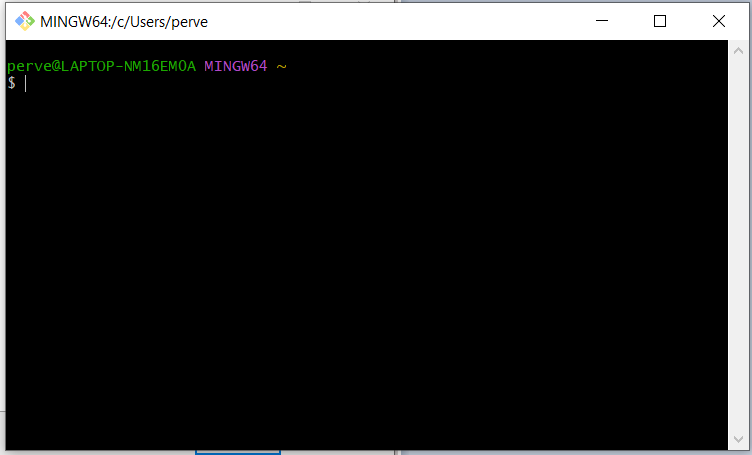
The Git Bash looks like as
 | |
|
|
|
|